Wednesday, July 28, 2010

Building a Booth

Each spring the Farmers' Markets and Craft Markets around the area get going.  I have been in the habit of spending the first month or so at a Farmers' Market, then moving to the Pictou County Weekend Market in Pictou.  This one is NOT a Farmer's Market - it is a Crafter's Market.  There are a lot of different things, and each year the mix is a little different than it was the year before.  It is a lot of work to organize, and it takes two full weeks to set up all the booths in the Pictou Curling Club - the Market's home.

Each year I try to make my booth more attractive and user friendly.  Last year I added a partition of grid wall panels, and liked it so much that I finished out the walls this year.  It is really quite versatile stuff!  I like how things look, and I believe it is a much more inviting place for my customers both regulars and the tourists passing through the area.


So without further ado, here are pictures of my booth this year, from start to "finish" (as if it can ever really be finished!)

Day one - Bare Walls 8' deep by 14' wide.


First stretch of grid wall - the back.  And of course there is a front and back to it, and I had to change several of them, but not until I was almost done did I notice it.....


More gridwall up - it's starting to look like something, but I don't know what yet...LOL


And here we are at the end of the first day.  The Grid Wall is up.  The panels are 2' wide and either 6' or 7' high (I have some of each.)


Day Two - installing the background fabric.  It's  black broadcloth (polyester cotton - washes like old rags) suspended on curtain rods behind the grid.


The other side.  As you can see, even though the 7' gridwall is there, I'm only draping to 6' or so to keep it uniform.


I've added some shelving - the ladder stands I've been using for a number of years will hold votive candles and soy and paraffin container candles.  The corner shelf will be for things I want to feature or draw attention to.  The shelving got a fresh coat of black paint this year so everything will be coordinated.


This is my corner.  It has my cash register (on an old school desk) and my chair (from the camp!) and where I'll keep supplies away from the view of customers.  I have a 5 drawer plastic storage unit in the back corner.


The Day before Opening!  My Banner is up, the table for my water dispenser is in place, and the shelving is on the wall.
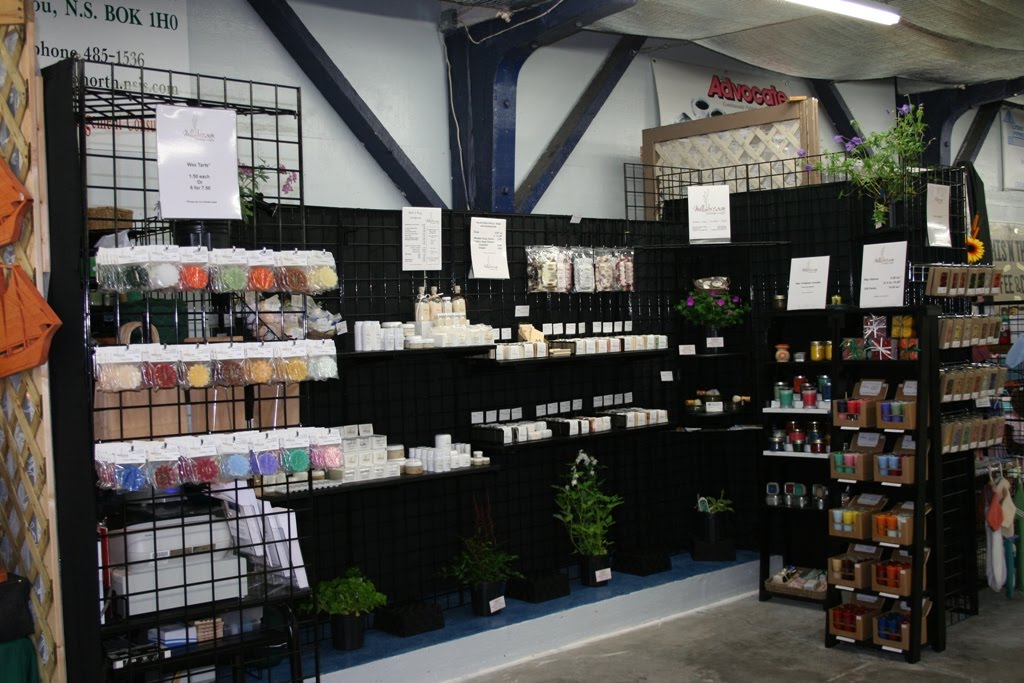
You can see the shelves on the back wall, and the votives in their stand.


The tealights (on the right) and the wax melts (on the left) are in, the testers and lip balms are on the shelves.


The container candles, the signs and the soap labels are up.  The soap is grouped by type into black wire baskets (letter sorters in fact), won't come in until the morning.  But the hardest part is done.


It's Opening Day!  The soap is in place as are the lotions, creams, scrubs and balms.  Of course there were last minute panic moments when I was trying to remember if I had everything with me!
This is one side.


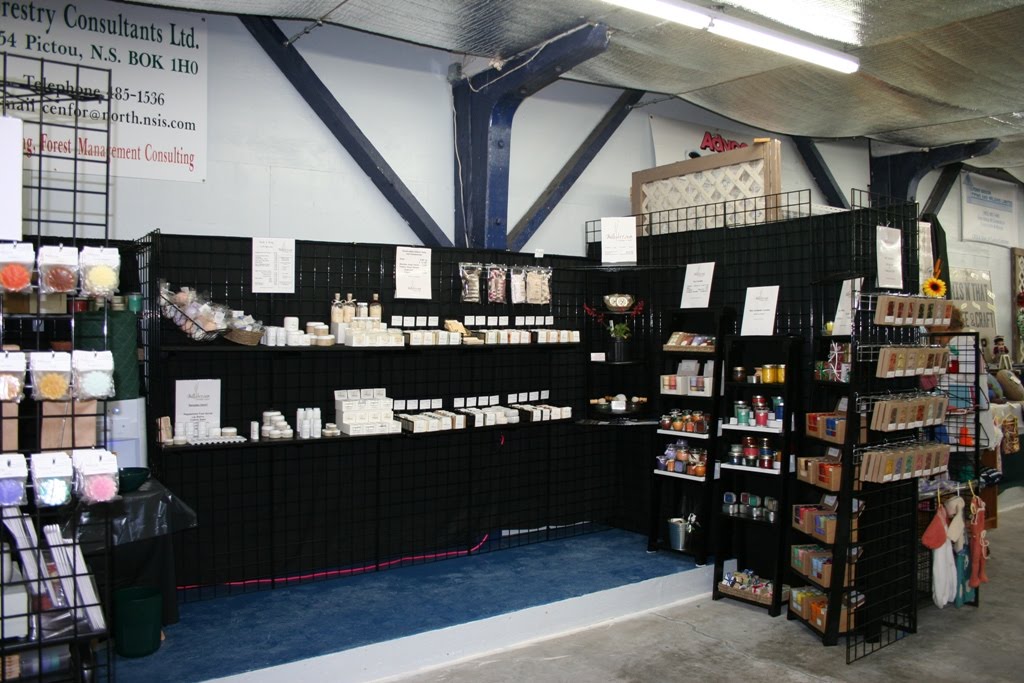
And this is the other.


A little better look at the back wall.


And here is a closer look at the bath and body and soap display.  I like that the black background makes the white packaging pop.


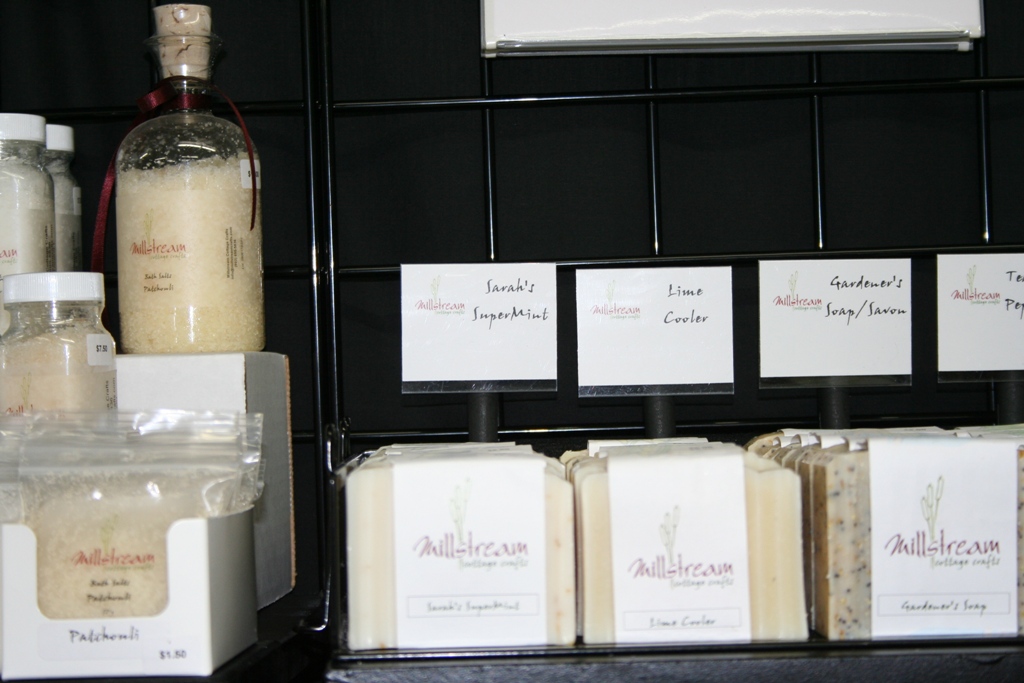
And a closer look at the soap display.  I think it works quite well to have the names of the soap on cards behind them.


So that was opening day.  There were some problems, but we got them worked out - see next.


 One of the problems was that people were staying off the blue step (as this is a curling club, the walkway goes around the entire ice surface.  My booth has 4' of walkway and 4' of ice base surface because it's on an outside wall) and were leaning from there to get closer to the products.  Not good.  I could see someone overbalancing and falling into the soap and that is not a happy thought.  So I went in and brought the back wall forward a couple of feet.  No more problem!


 Bath & body section.


Candle Corner - rearranged a bit.


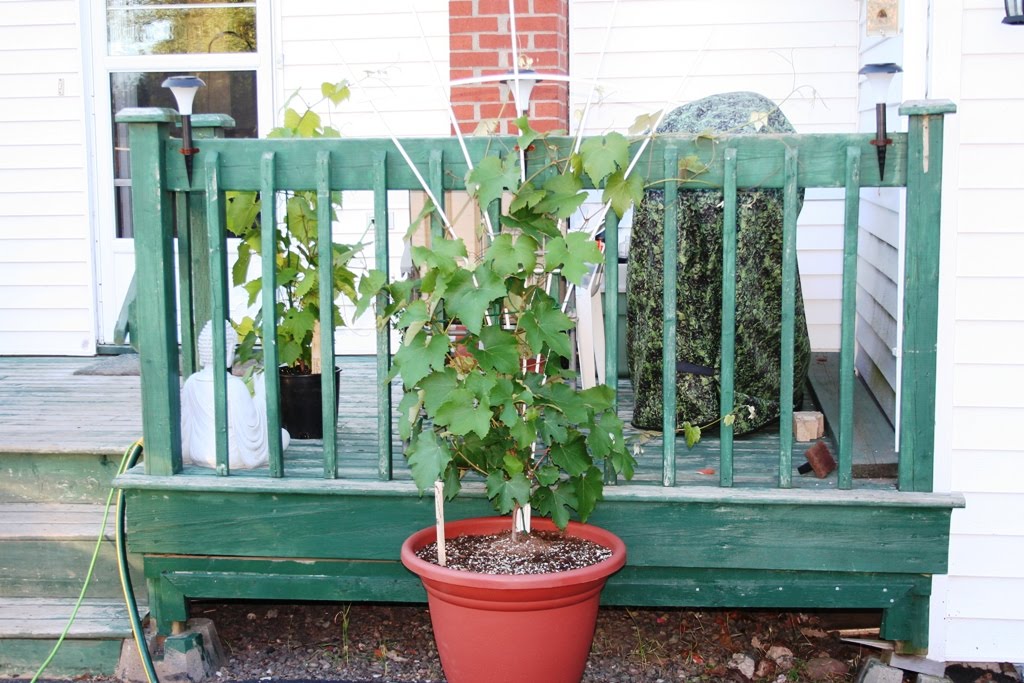
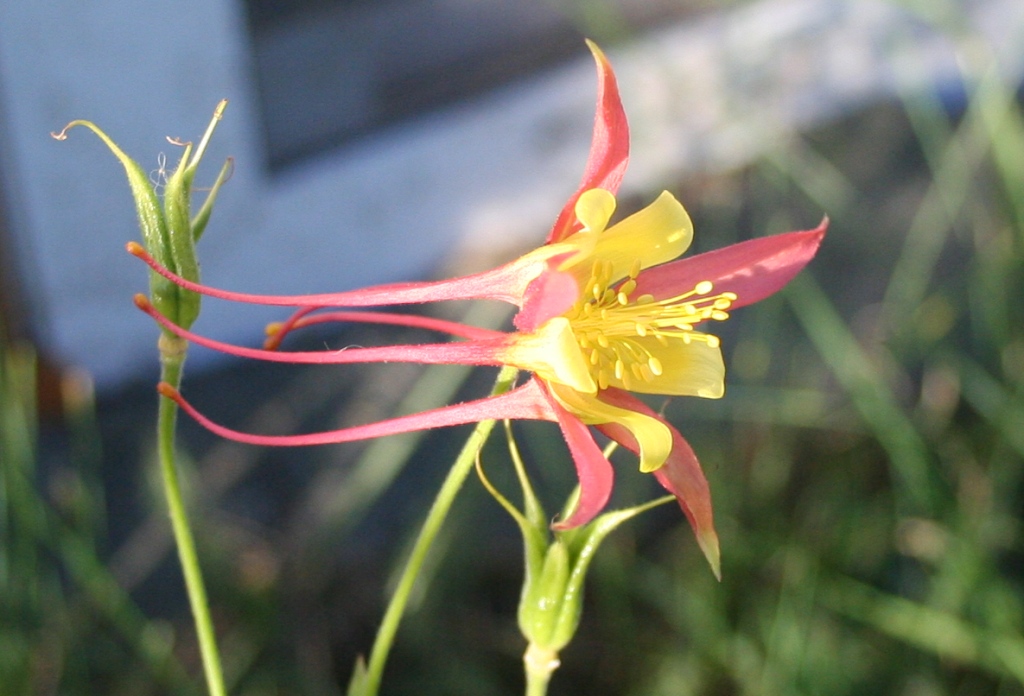
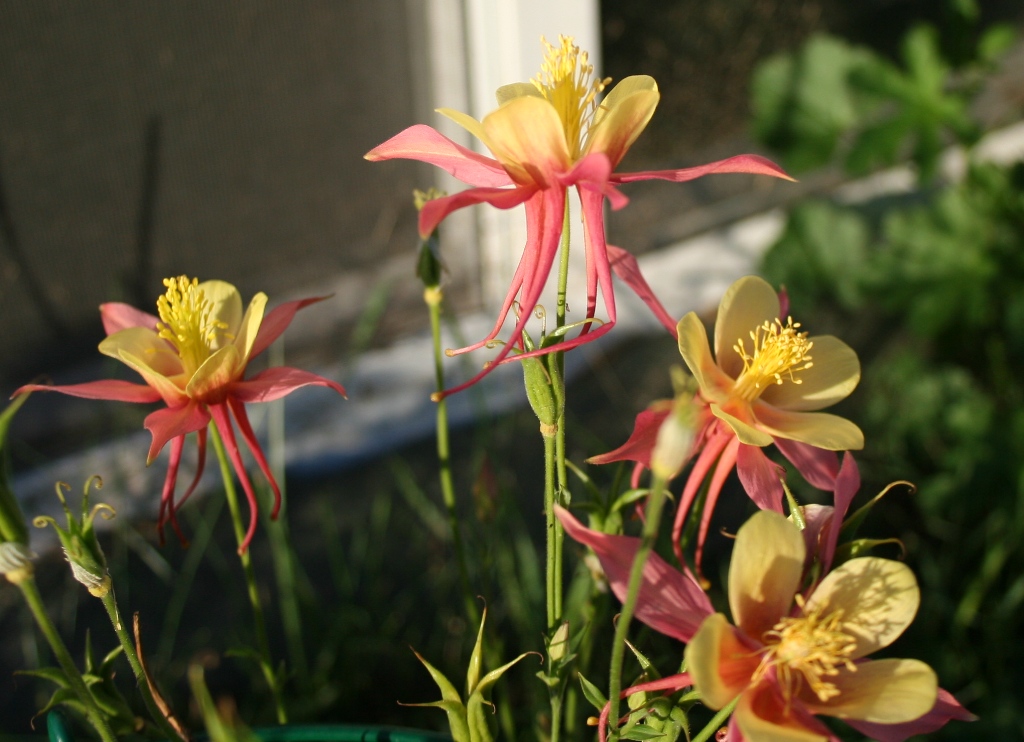
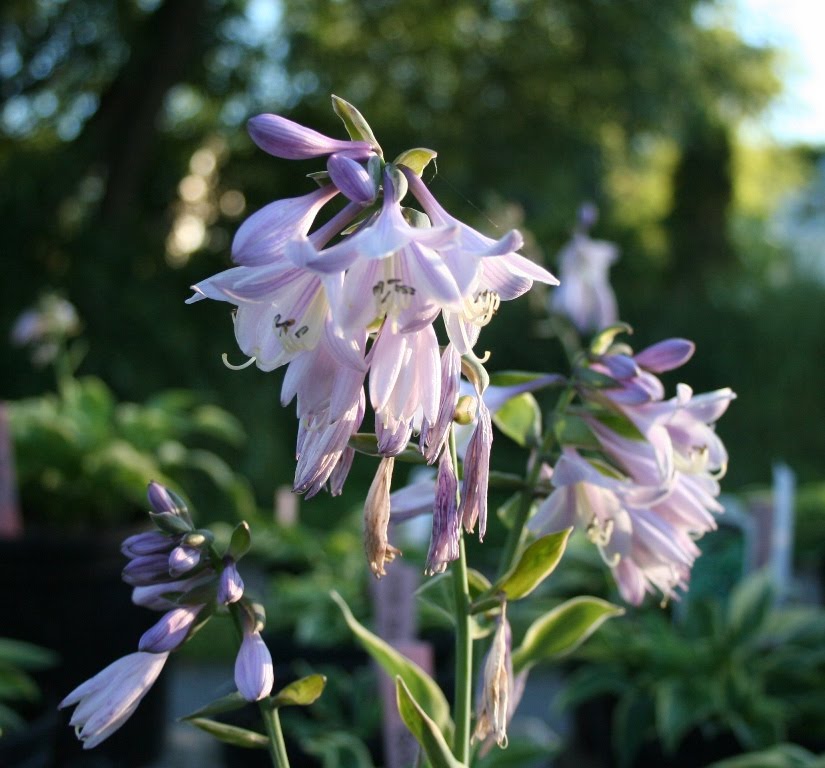
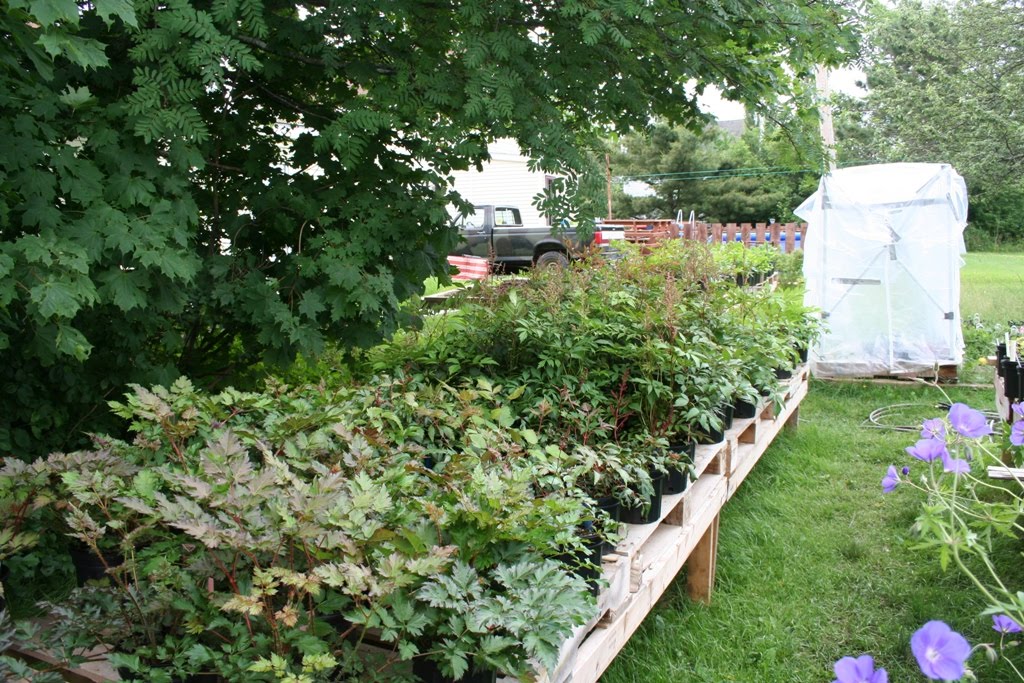
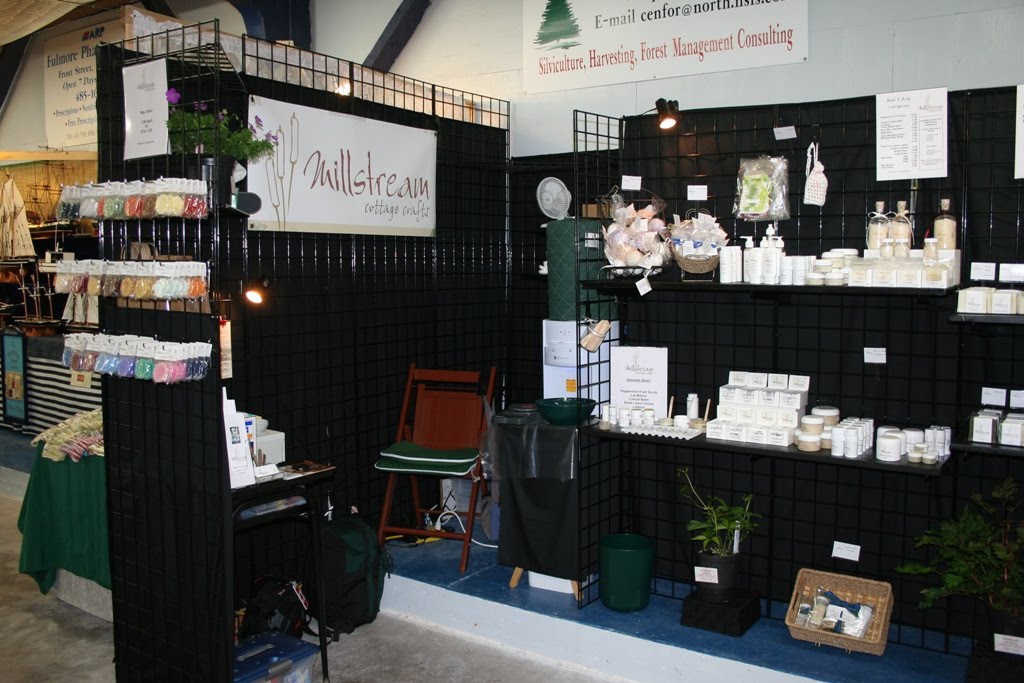
A bit better view of the entire booth.  Including some plants Steve let me borrow to add some colour to my space.


And now for a few final pictures... just because.

Baskets galore


The whole thing!  The last drapes are up behind the tealights and the tarts.


A few small lights to brighten things up - there are no windows in the building.  And plants for interest.


Soap ends.


Soap savers, foot soaks and bath bombs - new this year.


And me.


Tuesday, July 27, 2010

Home Gardens too!

Even though we are both busy with our respective businesses, we've found the time (or rather Steve has taken the time - usually late at night) to start putting in gardens for ourselves around the house.  This is a work in progress, and will take a few seasons to complete.  But anyway, here are more pictures!


This is one of the gardens at the front of the house.  We moved the spirea to the side of the stairs, planted tulips, crocuses and hyacinths and it was so nice to see them coming up.  However, at the time this picture was taken, they were past and the summer flowers were starting to come into bloom.  The flower buds on the spirea were coming along nicely, and the lamium was too.


This is the area along the lane.  Eventually it will be all flowers, but we're putting it in in stages.  This is stage two.


There are two lavender plants and a purple liatris at the back, and 5 daylily plants.  We'll add more once we decide what else we want to put in there.  This is a full sun area so whatever goes in there will have to be able to tolerate all that sun.


Here is the start of the herb garden.  The herbs are pretty small right now, but they'll grow.


And more dianthus.  Maybe next year I can find some carnations, though these smell pretty good too.


I call this the strawberry garden.  It has sage and thyme and rhubarb, but it also has about 5 strawberry plants - some left from last year.  We actually got a couple of strawberries, but the slugs and snails got the rest.
And yes, that is a dragon guarding the garden.  :-D


The front of the house, showing both gardens and the potentilla plants out front.  The flowers are a nice cheerful yellow.


And here we are ready for Canada Day!  The hanging baskets have red and white flowers so are very appropriate, and the flag flies all spring, summer and autumn.


Here we have grapevines by the back door.  Until we know exactly where we want them, this is where we put them.  We expect to put them in the garden centre area, probably along a low fence or trellis.  Or maybe even use them as shade for plants needing more shade than is available.  This photo was taken on June 30th, and they had just been repotted from the containers I purchased them in in mid May.


Here is the white grapevine as it was this evening (July 27th).  Less than a month from the picture above and this is what it looks like now!  WOW!  I've never had grapevines before, but Steve has and he says we may even get grapes this year.  This is still not the final place for them, but it will do for this year and next year they will go into their permanent location.


This is my little container garden from last year.  It doesn't look too bad for not doing anything to it this year.   That is Sean's old wagon in the background.  Where it is now is where the Concord (red) grape will go once Steve gets a bit of time to put it in the bigger pot.


 Some pictures of columbine now.  The first two are similar to the one I posted the closeup of in the previous post but not quite the same.  The third picture is one of that original plant, still flowering after a month.  These photos were taken July 27th.


This is one of the daylilies - the Elegant Candy - very pretty!


 This is Dragon's Blood Sedum just coming into flower.


And this is a closeup of a flower from the Hosta Francee.


On the right is a grouping of Purple Liatris or Gayfeather.  They've just started to come into flower and soon the whole long flower stalk will be purple!


On the left is a fall phlox.  We have four different colours - white, pink, red (or deeper pink) and this one.  They smell divine!


Last but not least is the Gaillardia or Blanketflower.  Steve started these from seed in the house in early spring.  We had no idea if they would even grow, but he has done a wonderful job - they are just starting to bloom (this is the first one) and they are just magnificently coloured.  The purple flower just below it is a monkshood.  We are really excited to see these plants do so well.  We will undoubtedly do this again!

That's all for this post, and I hope you enjoyed the pictures.  Next post will be about building my booth at the Market.  Stay tuned!

Garden Biz-ness

I took a bunch of photos a little over a month ago and just never got them posted - busy with a lot of things - getting ready for Market and so on.

So here is a photo essay on what is going on in the back yard as of June 30th.


Entering Plantman Gardens


Evening Primrose, Thymes, Virginia Creeper, Lily of the Valley, Phlox etc.


Astilbes - Lots of them!


More Astilbes (there are Snowdrift, Fanal, Etna, Delft Lace, Finale, Catelaya, Gloria and more!)
 as well as cannas, sedums and lots of others.


Here are some purple coneflowers started from seed and a few different plants.


Three types of perennial geraniums - Patricia, Sanguinium and Brookside


Monkshood, cherry bells, bee balm, yarrow, asters - just before coming into flower.


Coral Bells, Iris, columbine and red Honeysuckle


Irises - Variegated, Purple Bearded and Yellow and purple bearded


Hostas - Undulata Marginata, Francee, Wide Brim, Blue Cadet, Sum and Substance


Daylilies - Elegant Candy, Pandora's Box, Mini Stella and Black Eyed Stella


Asiatic and Oriental lilies - not in bloom at the moment, but it's coming!


Ornamental grasses and Giant Striped Reed.


We've kept a few things aside for our own gardens, but everything above will be available for purchase.  Bloom time will be AMAZING!


I also discovered the closeup or Macro setting on my camera and took these pictures on the same day:

This is an Etna astilbe flower spike.


Here is a closeup of an astilbe flower spike.


Red Bleeding Heart closeup.

and White Bleeding Heart.


Dwarf Red Bleeding Heart


Columbine - just gorgeous!


Chocolate Mint; see the dark margin around the leaves?


I planted these last year and didn't expect them to come up this spring because they are in a container.  But they did!  It makes me smile just to look at them in all their lovely colour.  :-)


This is lamium.  The flowers vary from deep purple to light pink to white.  We have several different ones and this is one that Steve planted in the garden in front of the house last year.  They look delicate but are obviously very hardy.


This is one of the perennial geraniums - called Patricia

and the blue one below is called Brookside.


This is White Creeping Thyme.  It is lovely when it blooms.  It's a great ground cover for rock gardens or between stepping stones.  We also have wooly thyme and Minas Thyme; the blossoms are different colours for each type.


This is a Black Eyed Stella Daylily.  Don't know why it's called that because there doesn't seem to be a lot of black on it.


Below is a Hosta Undulata Marginata with a flower spike just forming a bud.


This is an evening primrose blossom - what lovely clear yellow!


This is Virginia Creeper.  Steve tells me that there will not be any flowers, only berries, and so the berries are already starting to grow.


And last but not least by far is the white honeysuckle.  It had many flowers on it, and this was the first time I had ever seen one.  It's lovely!  It will climb, and though there is a trellis there now, we'll replace it with a better one once the honeysuckle is a little bigger.  this is on the side of the house.


As always, if you click on a picture, you'll get a much bigger version.  To return to the blog, just hit the back button.  I hope you enjoy these photos as much as I enjoyed taking them.  :-)